GameShell Stuff
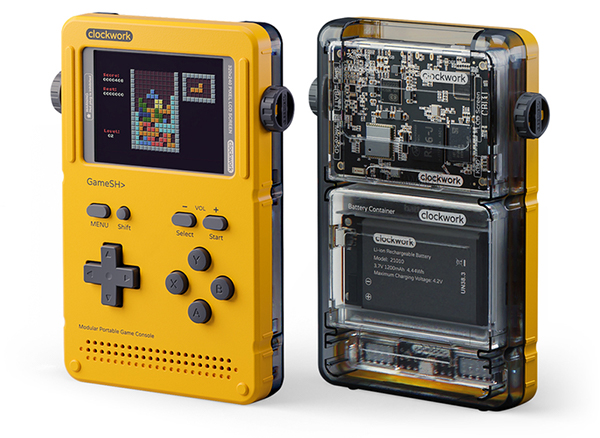
I bought a ClockworkPi GameShell back in October 2019. I’ve been playing with it a bit lately (in anticipation of the ClockworkPi DevTerm shipping!) and I realised I haven’t yet posted anything about it on here.
Here’s some of the hardware mods I’ve made to my GameShell.
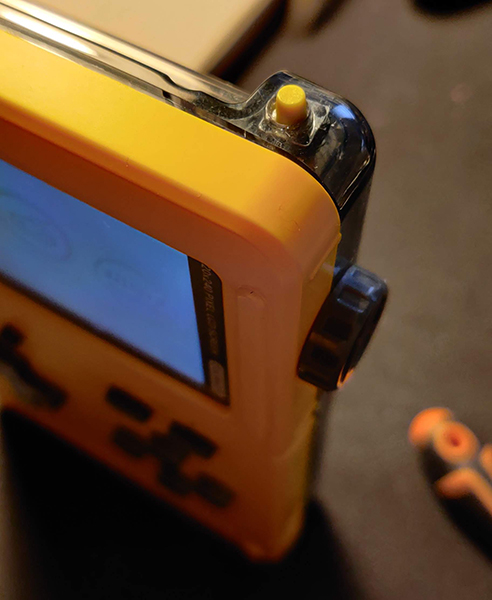
External reset button
Adding an external reset switch is quite straight-forward, and can be done with very minimal alterations to the back of the GameShell. In this case, I’ve modified the non-LEGO back, but it would work just as effectively on that back too.
Tools needed
- Drill + 6mm drill bit
- Soldering iron (and solder)
- two 80mm lengths of wire
- one momentary switch with a 6x6x8mm cap
- flush snips
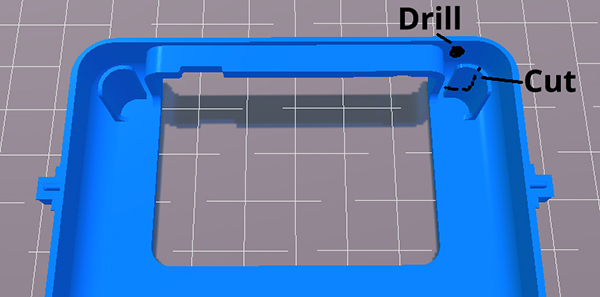
- Drill a hole in the top/right corner of the back case – you want to position it so that it’s roughly vertically centered, and has enough space for the switch to fit squarely against the inside edge of the case
- With the flush snips, trim away some of the top edge of the top/right inner retaining plastic (the top right corner that holds the mainboard module in place) – you just need to remove enough to fit the switch in place, so don’t cut it all the way out
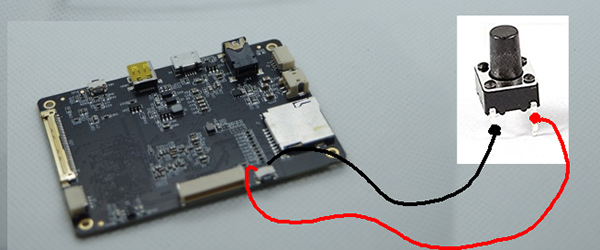
- Dismantle the mainboard module, solder 2 wires to the exposed solder pads of the SW2 switch on the back side of the mainboard. You should solder the other end of the wires to the 2 legs on one side of the switch, and fold or remove the remaining two legs.
- Assemble the case, fit the new switch in to the space you drilled/cut earlier
External access to Micro SD slot
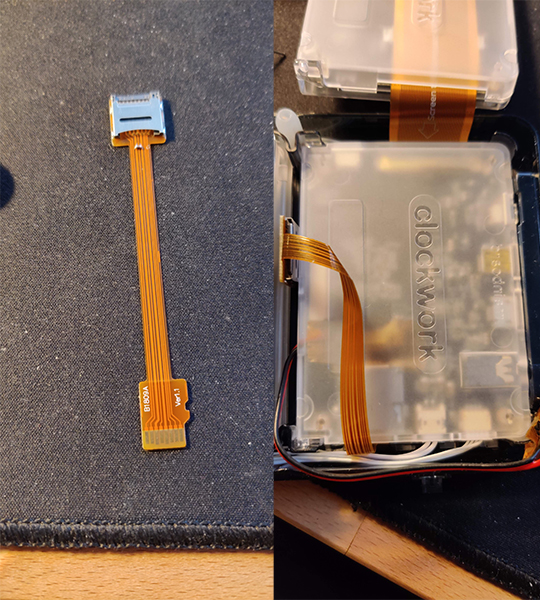
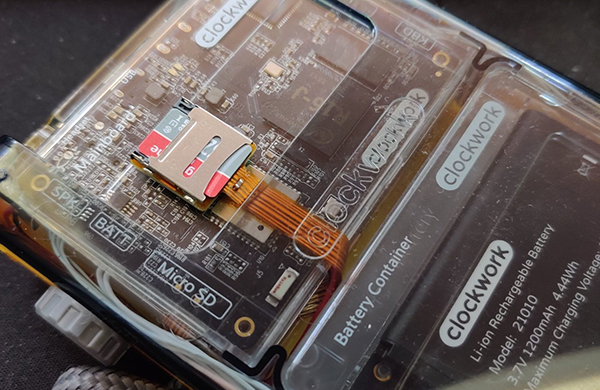
This is one of my biggest complaints about the GameShell – the fact that you have to basically fully disassemble everything to get to the Micro SD card. I bought a small flat ribbon cable Micro SD extender to move the Micro SD to a more accessible location and positioned the Micro SD extension using some nifty folds…
Big Fat Battery mod
I found the GameShell’s 1200mAh battery to be insufficient… so I upgraded the battery!
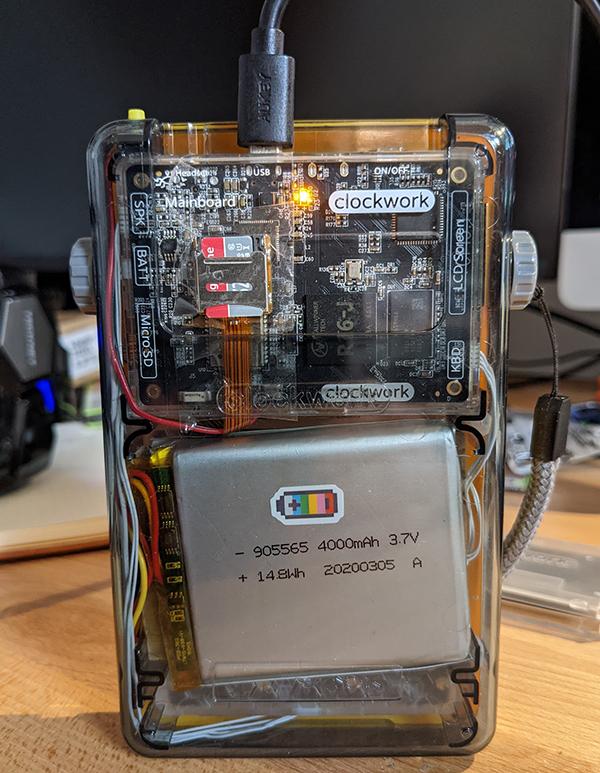
I had a 4000mAh 3.7v LiPo kicking around in my parts bin – I’m not sure what this came from, but the dimensions are:
- Width: 65mm
- Height: 55mm
- Thickness: 9mm
That’s pretty close to the size of the entire battery module that comes in the GameShell.
To install it, I had to jam it in to the case, shim it to the right thickness with some pieces of cardboard, and then hook up the 5v/GND wires from the battery to the GameShell battery cable. I couldn’t find the polarity of this documented anywhere, so I had to determine this (and mark the white cable for future reference) based on looking at the JST connector on the battery module.
This post is also available in plain text
GitHub API rate limit exceeded. Comments available again at